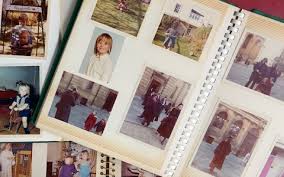
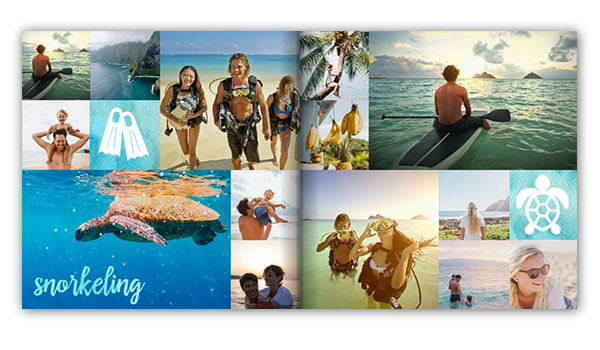
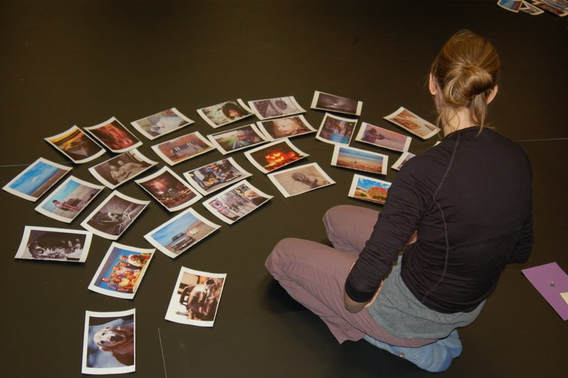
 If you are anything like me you might end up with 1000s of photos from your vacation. It seems that in the digital age many people just keep their photos on the SD card or maybe you might download them onto your computer. Unfortunately gone are the days where you would return from a trip and print your images and carefully place them in albums. I loved making albums that I could then flip through and look at all the fun times I had while on vacation with friends and family. They are a beautiful souvenir so I decided to find some options for my digital photos as well. There are many photo book companies on the market. Some are very basic and some far more elaborate. I chose Picaboo to create my first album and found them to have great functionality and the quality of the printed book is really good. Please note I have no affiliation with this company – I just really like their service. The first step to creating a really great picture album is spending the time to sort your pictures. This is honestly the longest part but also the most important. Gather all your pictures together in one folder – this means images from your camera, your phone and your travelling companion’s images as well. If the trip involved multiple cities or countries, I will often sort them by those places but at a minimum, I will put the photos in date order. It is much easier to follow the course of your itinerary and will ensure you don’t miss anything of importance. Remove photos that are similar or not great quality. You need to choose the best photos of each place or activity that tells the story of your experience. Make sure you have photos of both people and locations. You don’t want pages and pages of the mountains you saw – pick only the best. Once the photos are collected, I choose a template for the photo book. I upload all the photos into the application and then start playing. My process is to look at the photos I have for each city or specific place and start to group them together - think of how you would have divided them if you had the prints in front of you and use the same approach. I will look at the number of photos and then plan how many I will put on a page. Picaboo has so many different templates you can use for the pages so I try to work with a large variety of them so the book is interesting to look at. Some pages will have 5 or 6 photos and other may be a full page with just one photo. You can also use your own photos for the backgrounds of a page and then lay your corresponding photos on top of the background rather than using backgrounds from the application. There are so many options – just have fun.
After I have the photos inserted, I add text and borders to the photos. I keep my text to a minimum but it is also fine to write something a little more detailed if it is warranted. For instance, I had a poet write me a poem on the street in Amsterdam so I included that poem in my album along with a picture of the author. This makes it a wonderful keepsake – rather than the loose piece of paper that you don’t know what to do with. You can do the same thing with attraction entrance ticket stubs or maps. You can include any digital image to help you remember where you went and what you did. Once the album is ready online, I always have someone else review it for spelling and photo placement. I then upload the file and wait anxiously for the book to come in the mail. Many of the photo applications also offer a way to share the book electronically either through a link you can send by email or Facebook. This allows you to share the images from your trip with friends and family. These photos books are a wonderful way to display and share your images from your trip. Try one after the next holiday you take.
0 Comments
Your comment will be posted after it is approved.
Leave a Reply. |
Sharing Our Travel DreamsSharing our personal experiences onboard and on the road, along with tips and insight for creating memorable vacations. Archives
March 2021
Categories
All
|


 RSS Feed